The Celtic Sampler Throw Crochet Along has Begun!
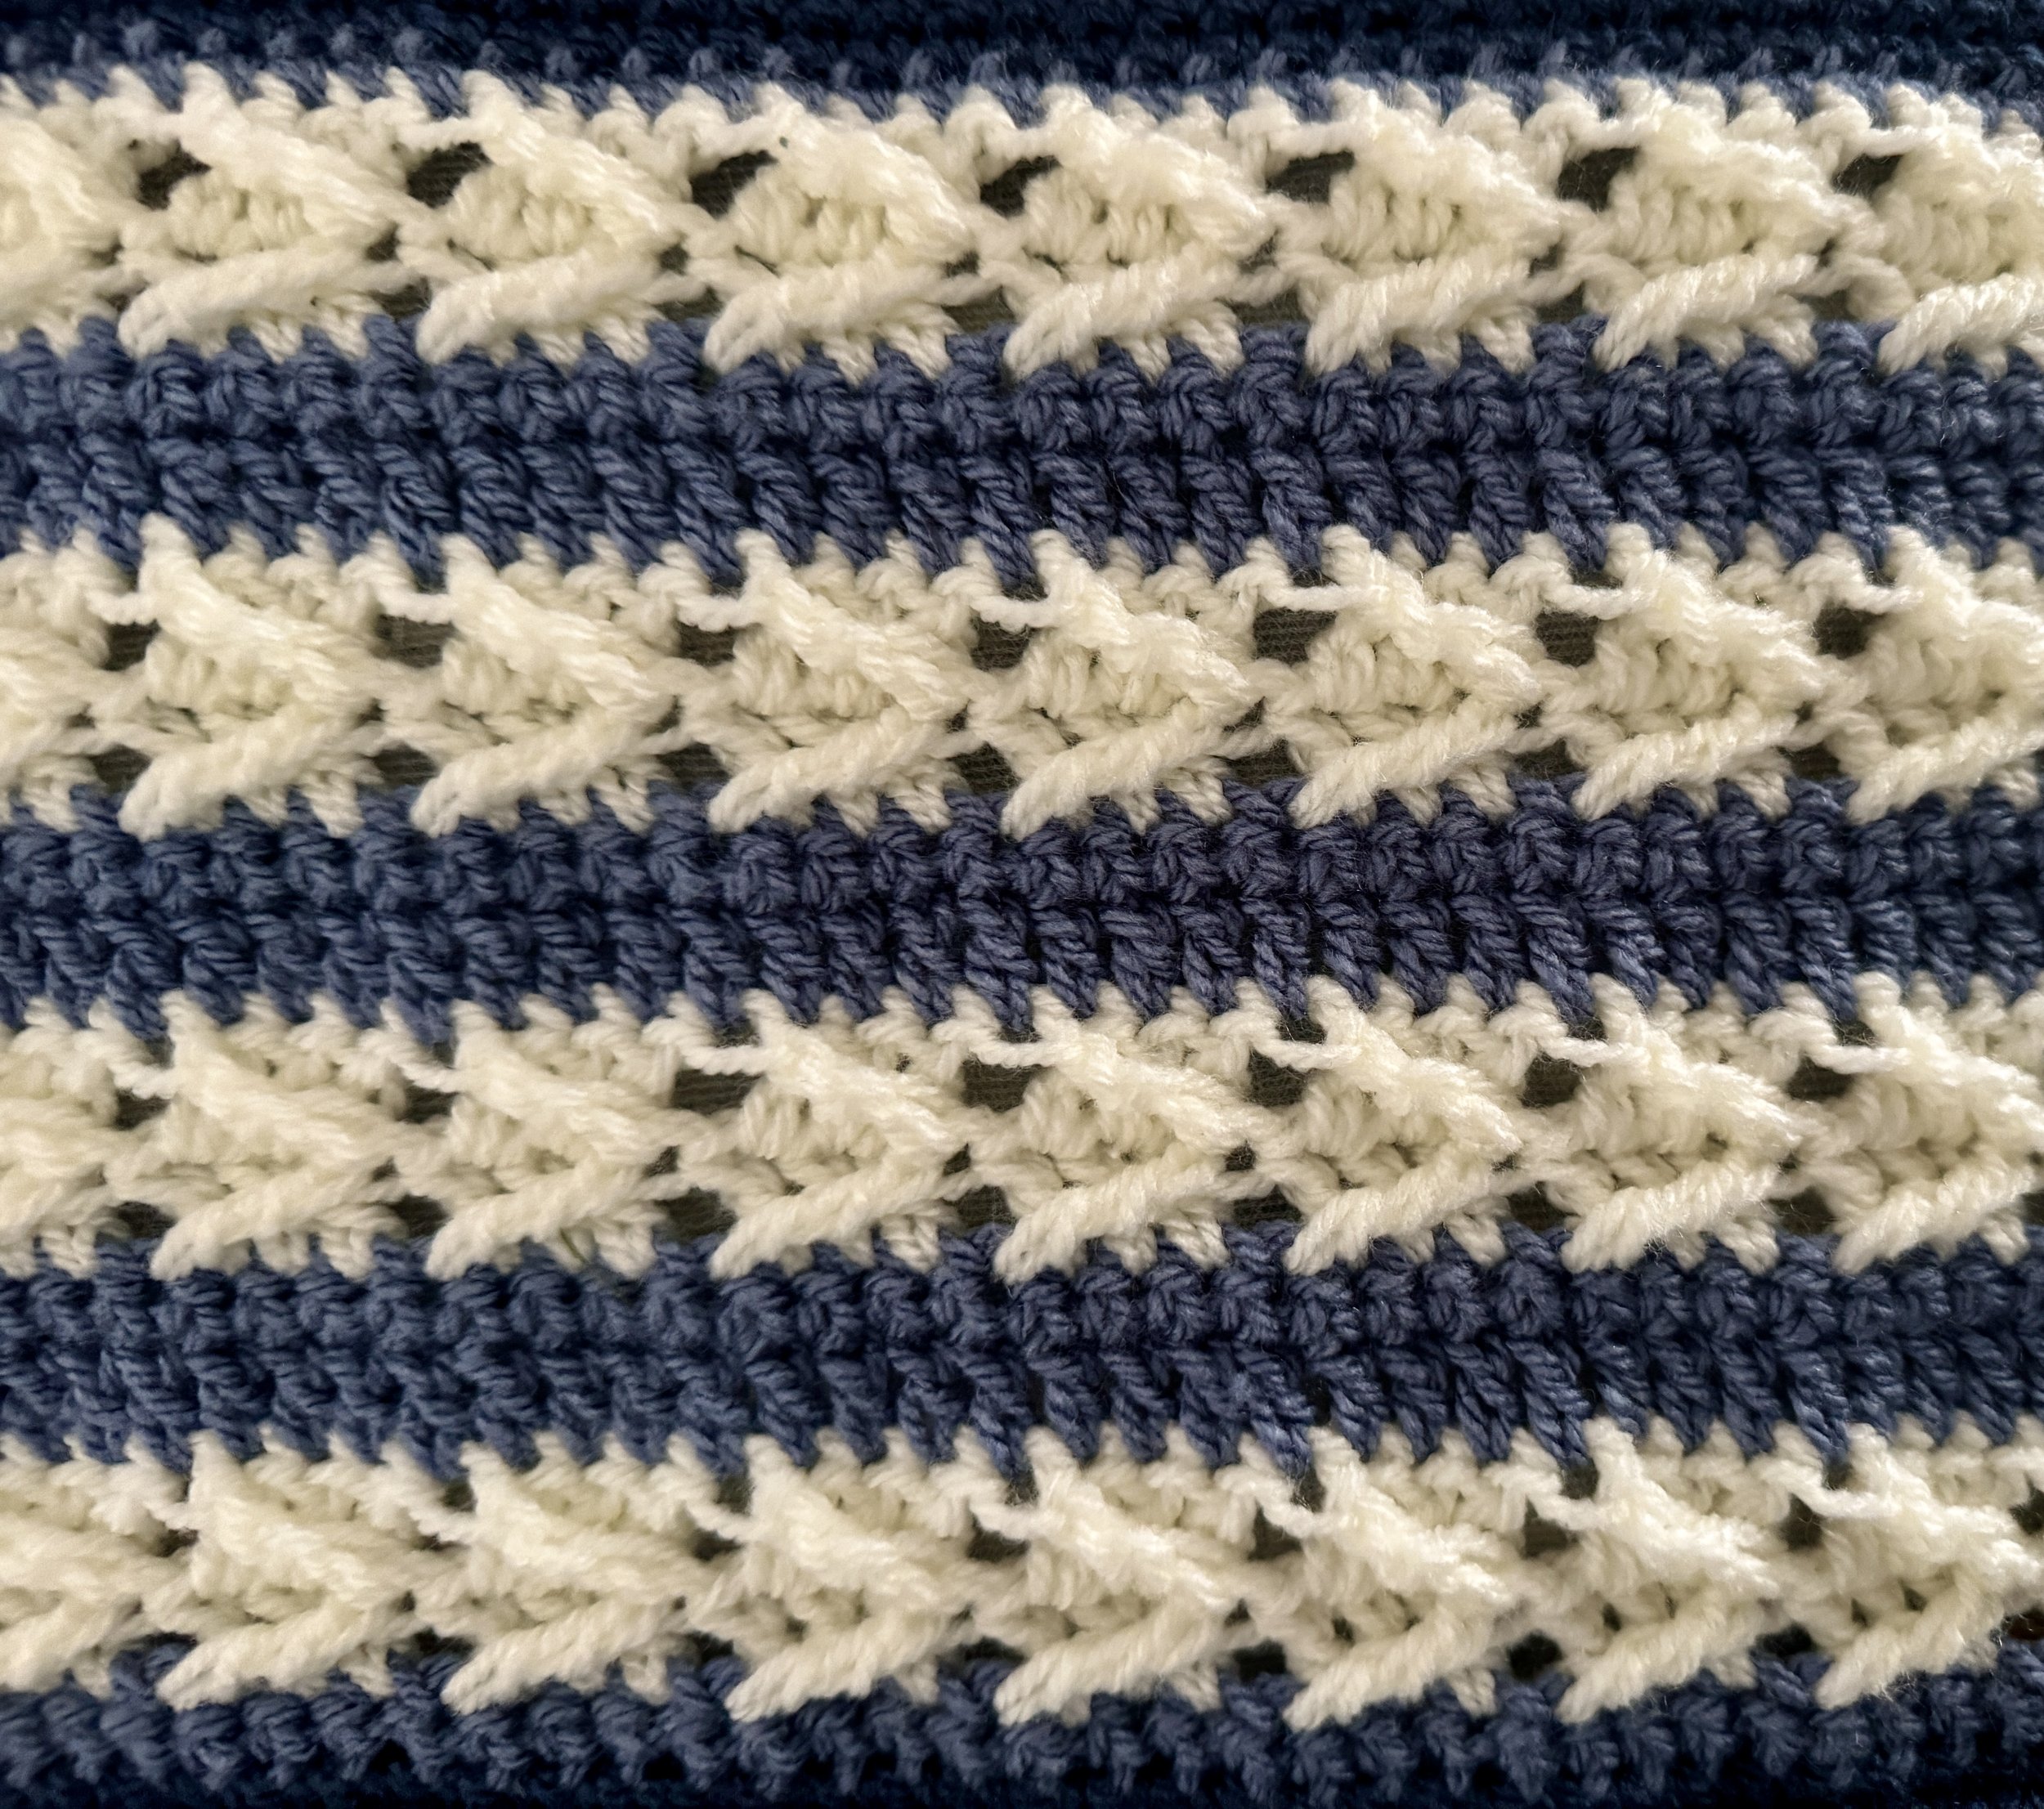
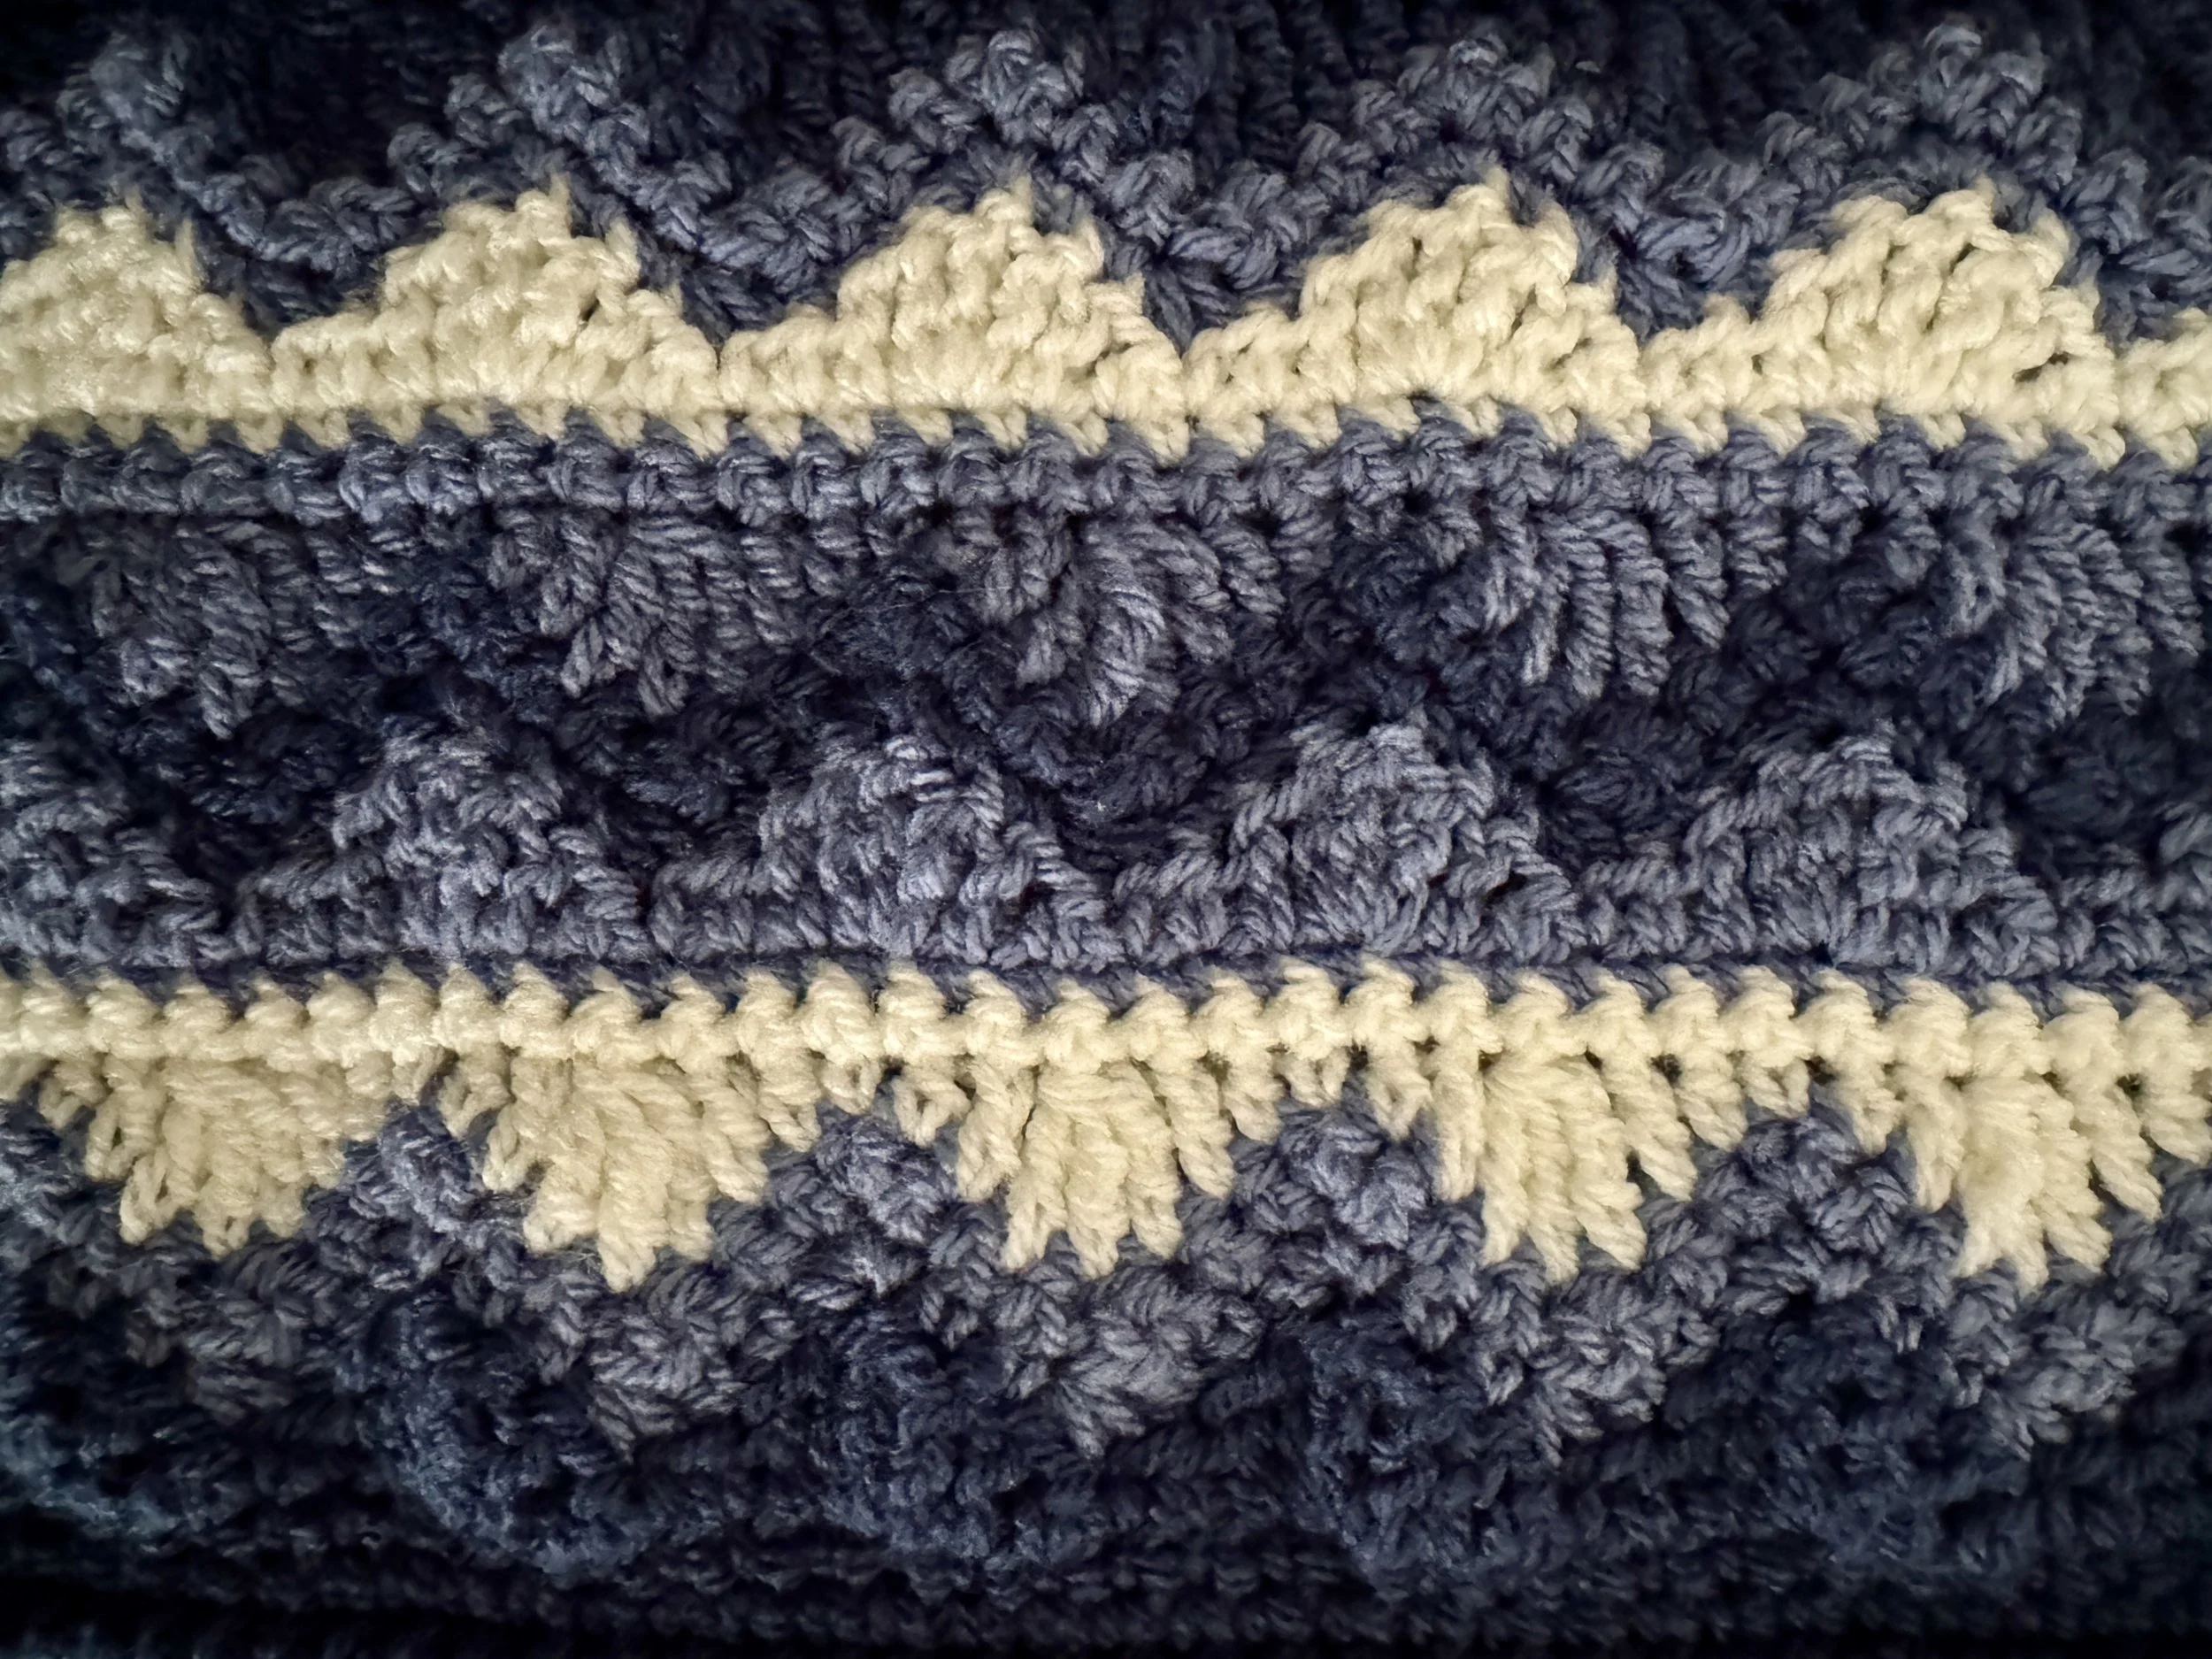
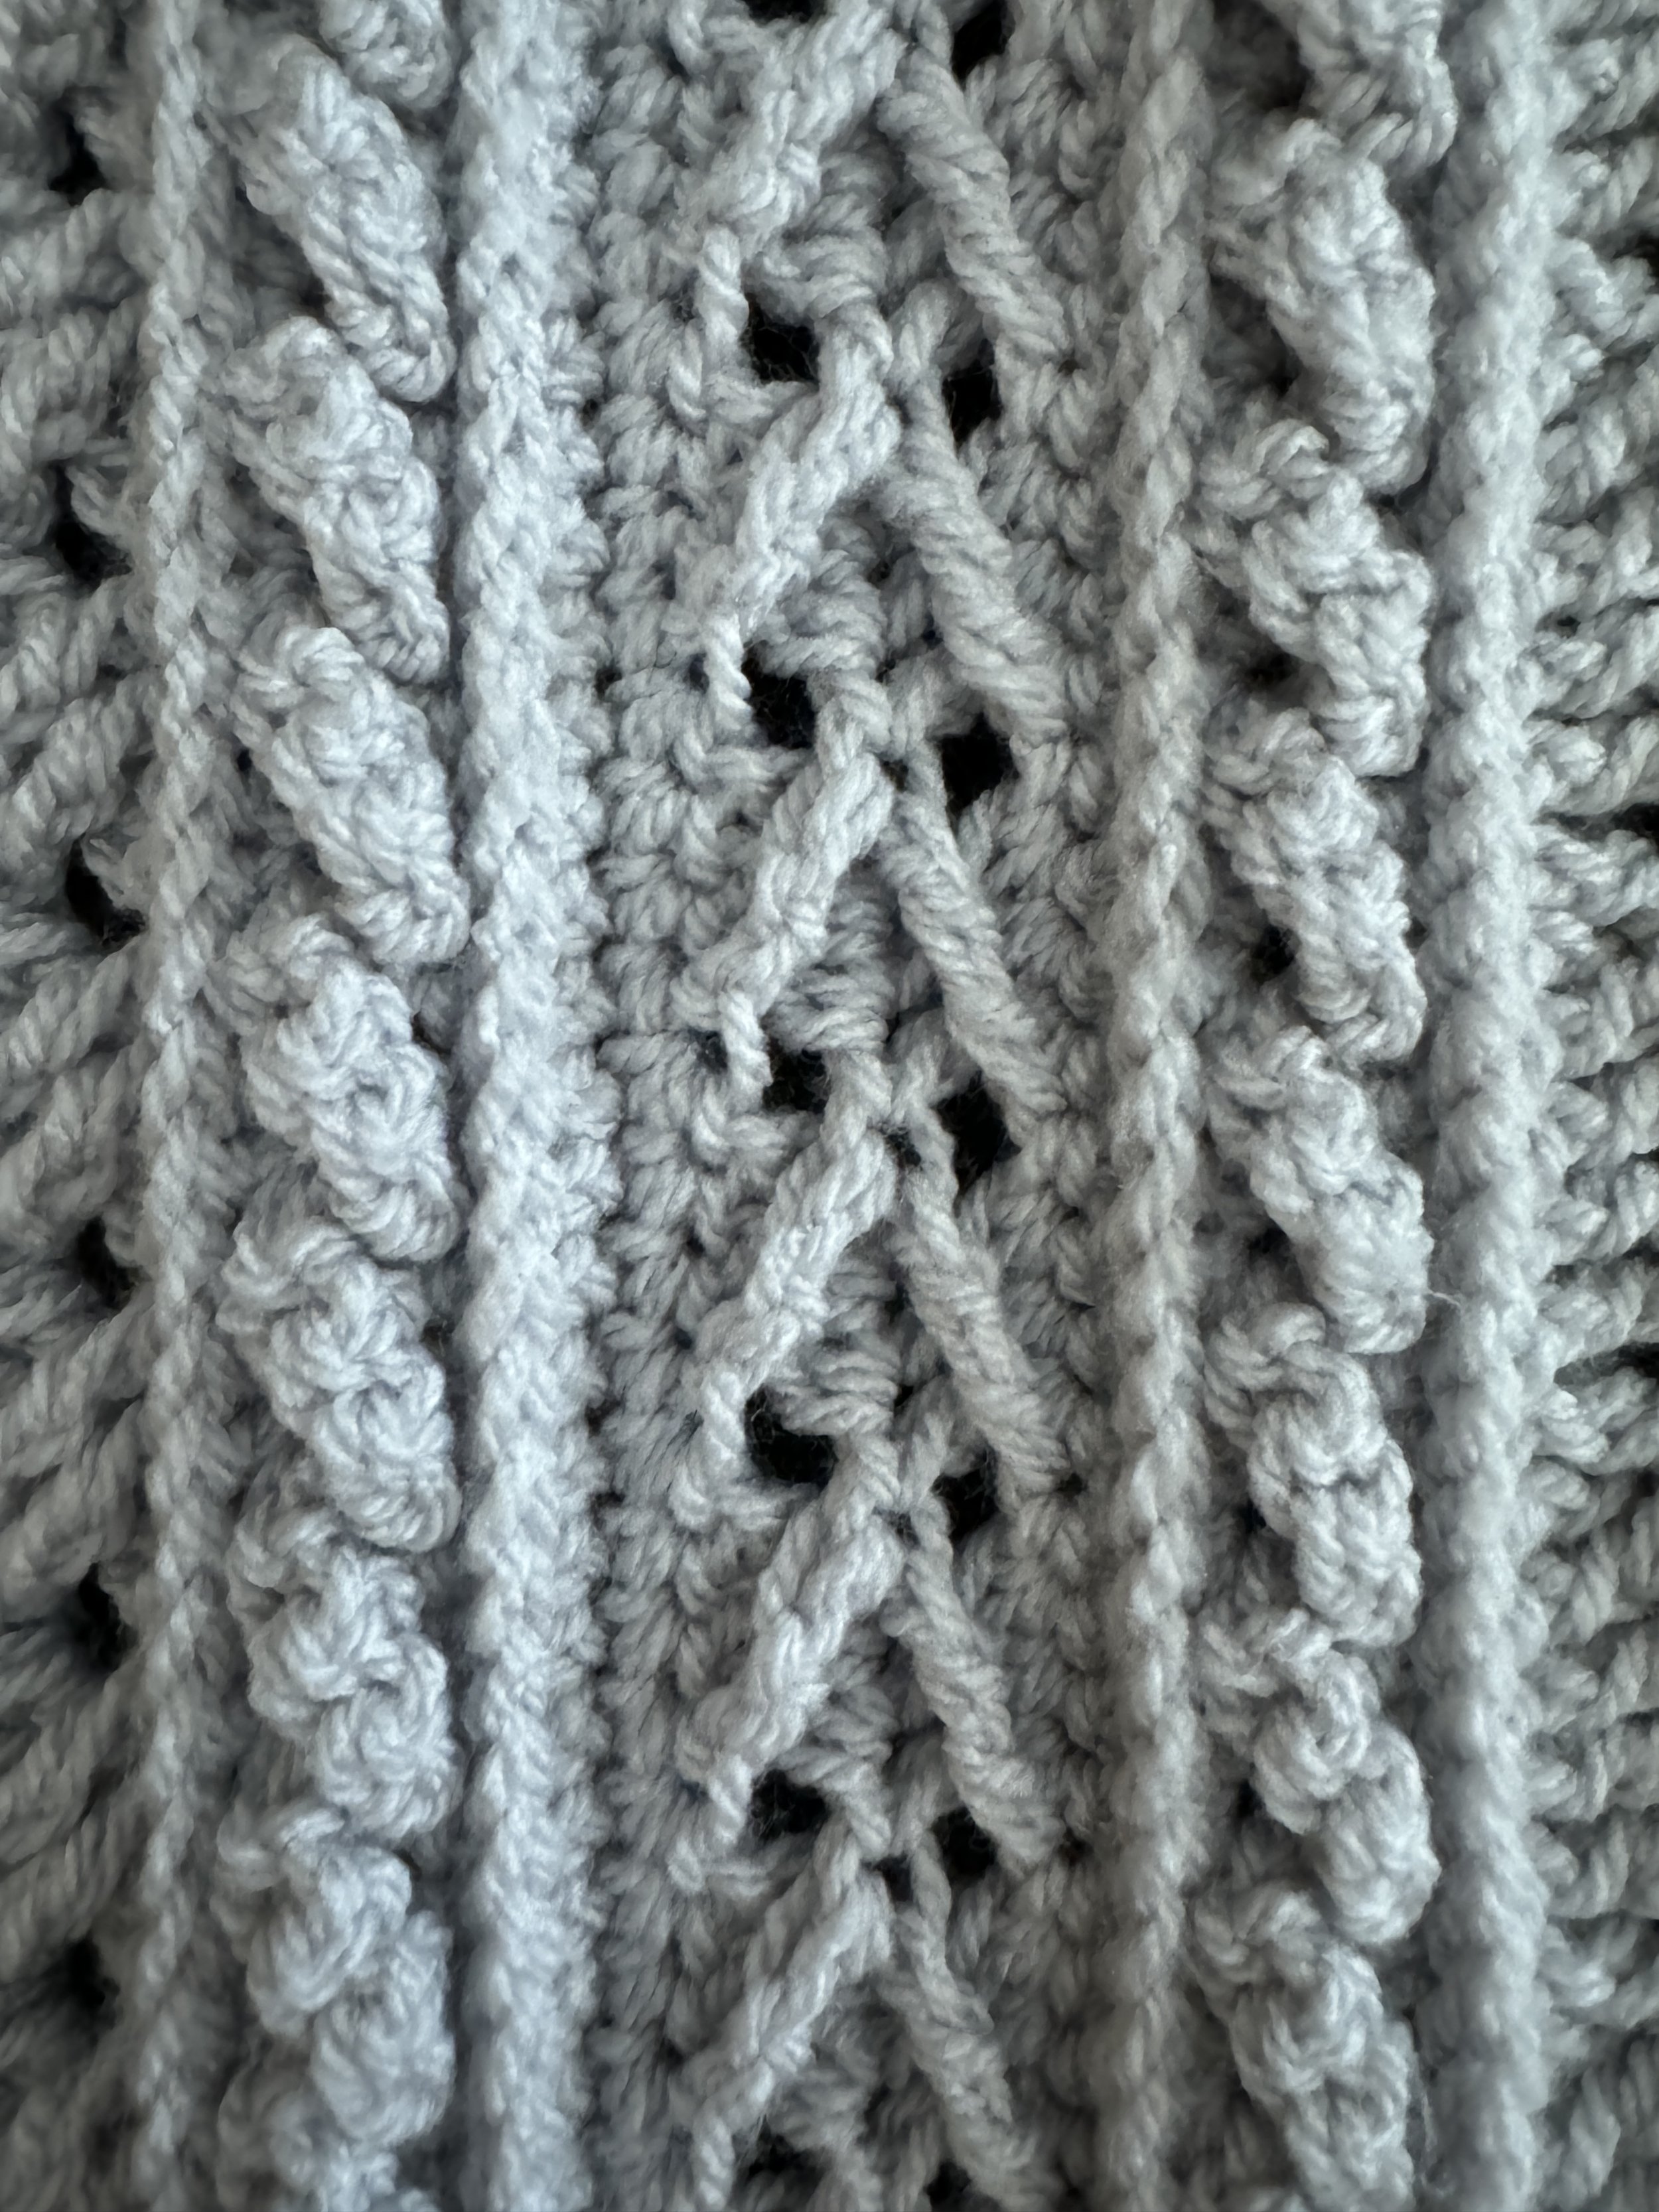
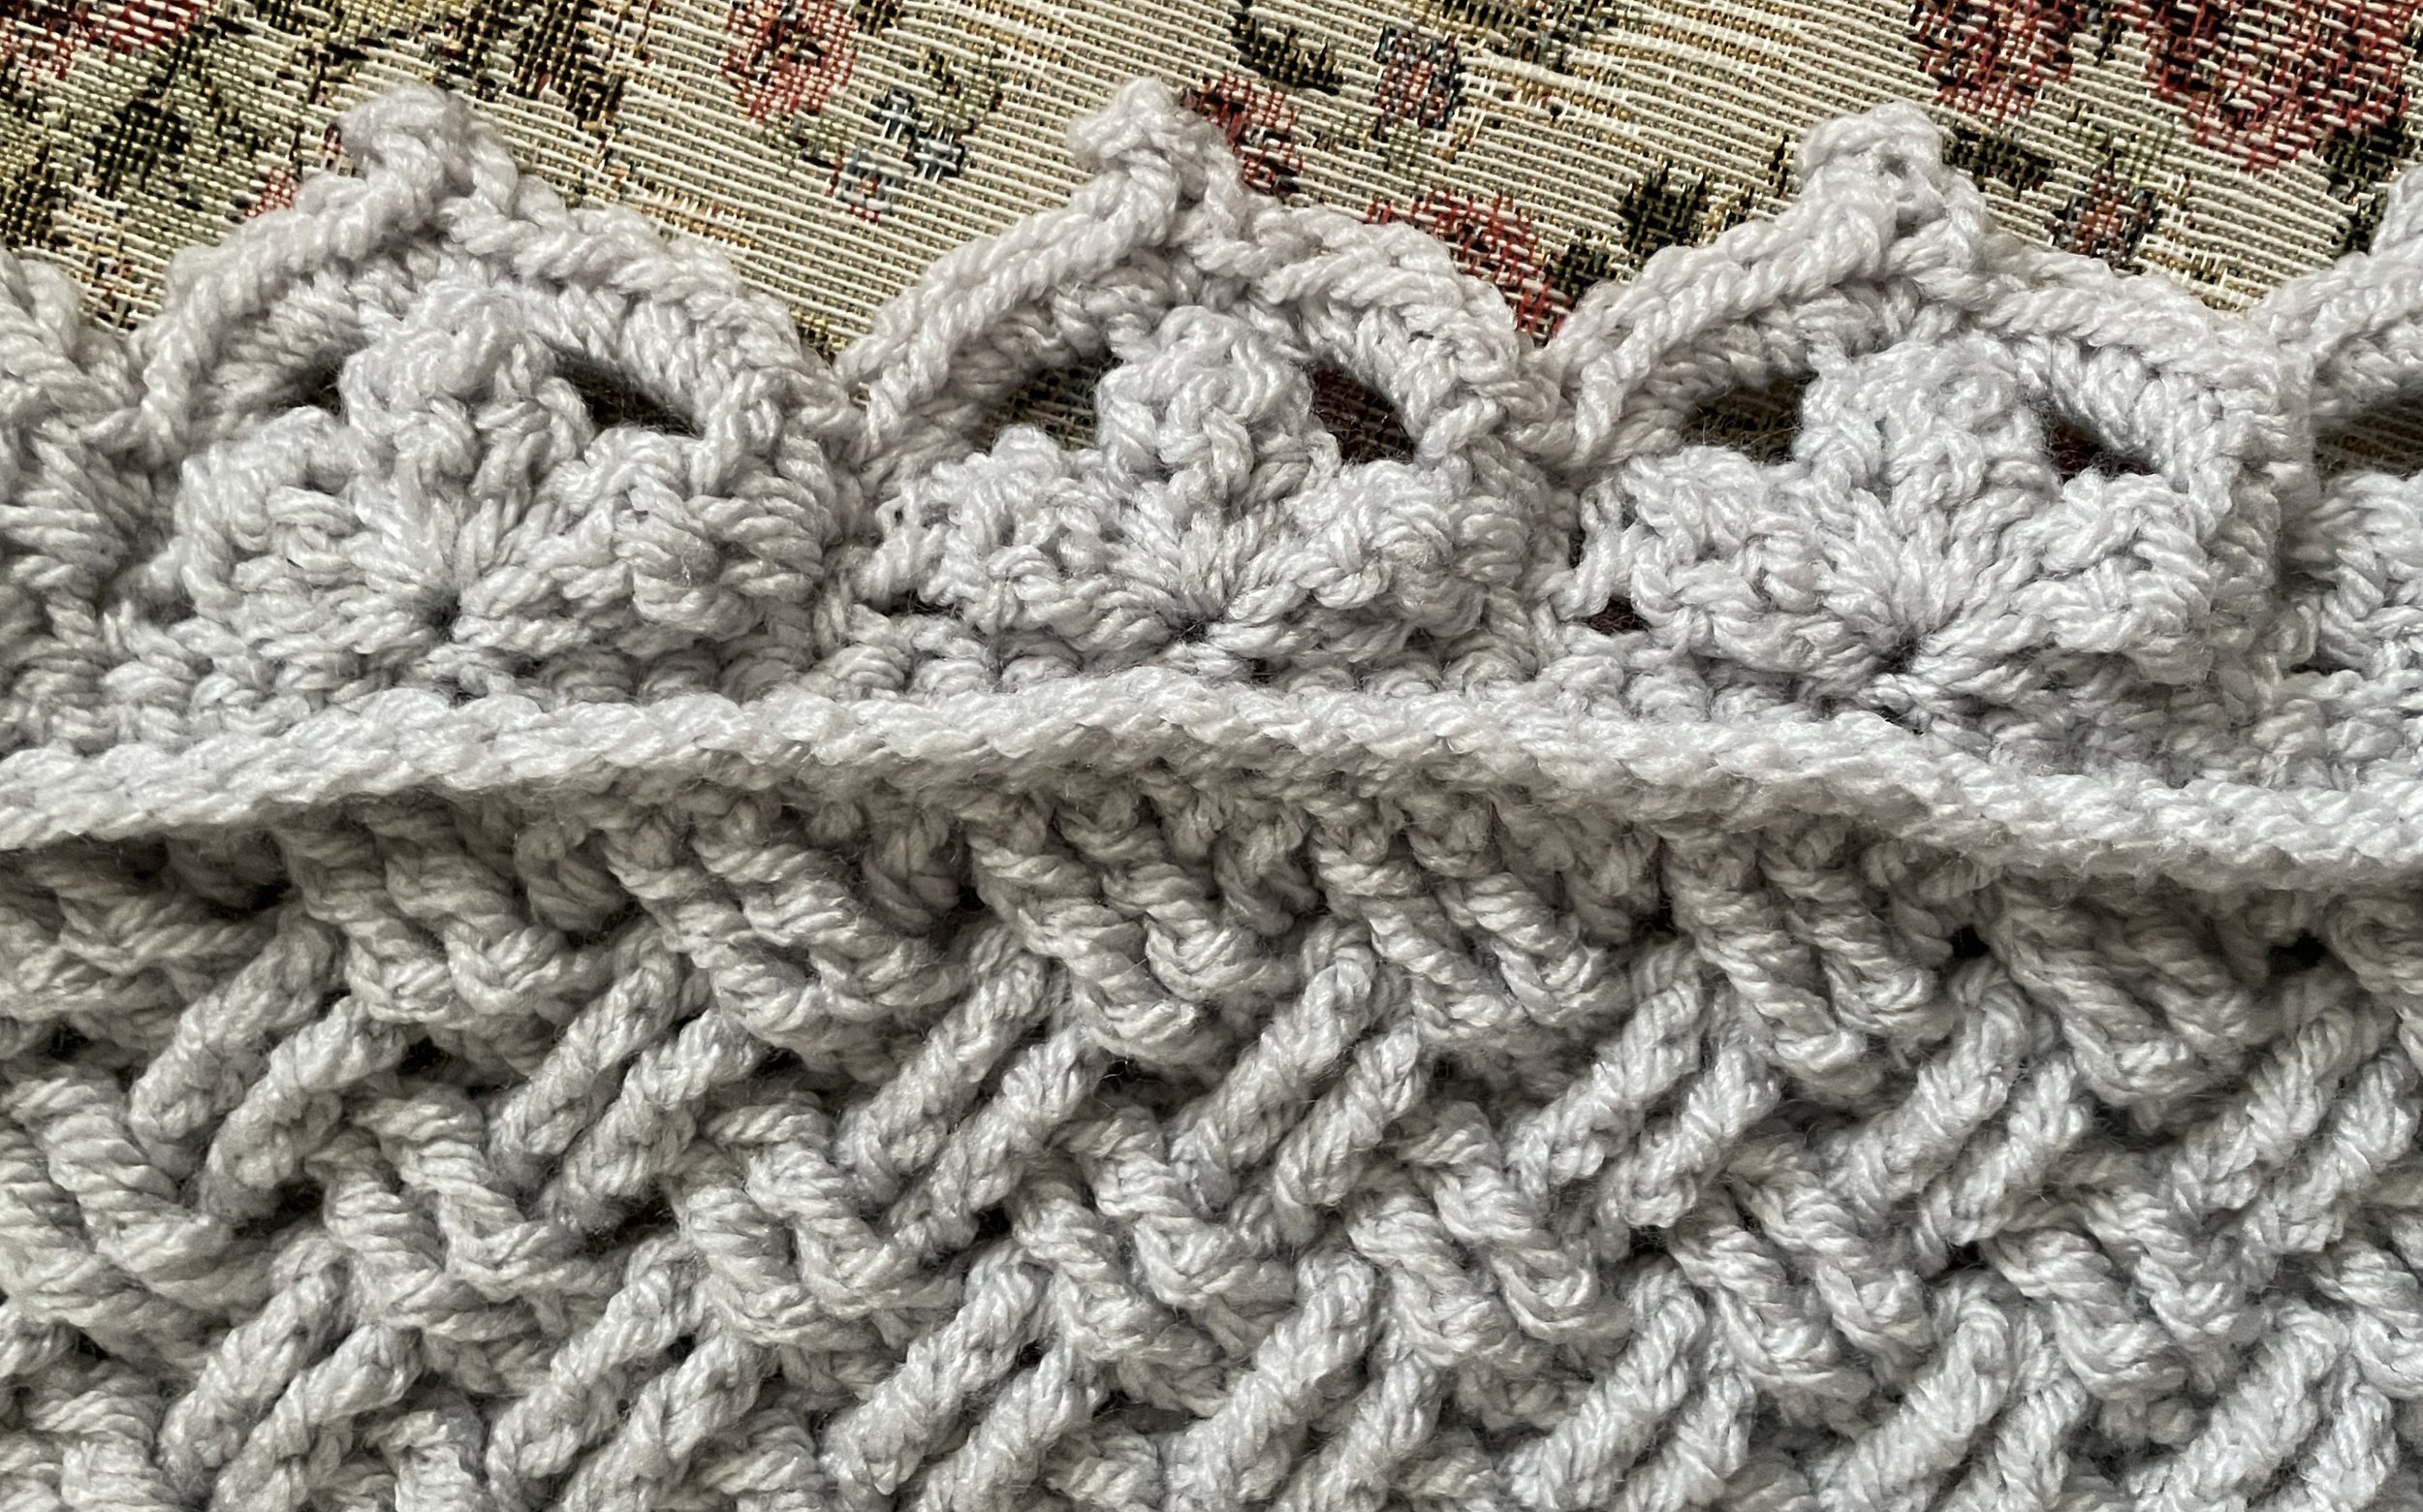
/Come along with me and learn 12 Celtic Crochet style stitches in this heirloom throw! This pattern is a crochet along that includes 3 complete video tutorials (listed in pattern below), for both right & left-handers. While this is an intermediate level design, confident beginners are encouraged to give these stitches a try. Mistakes are allowed, and are part of the learning curve that we all experience.
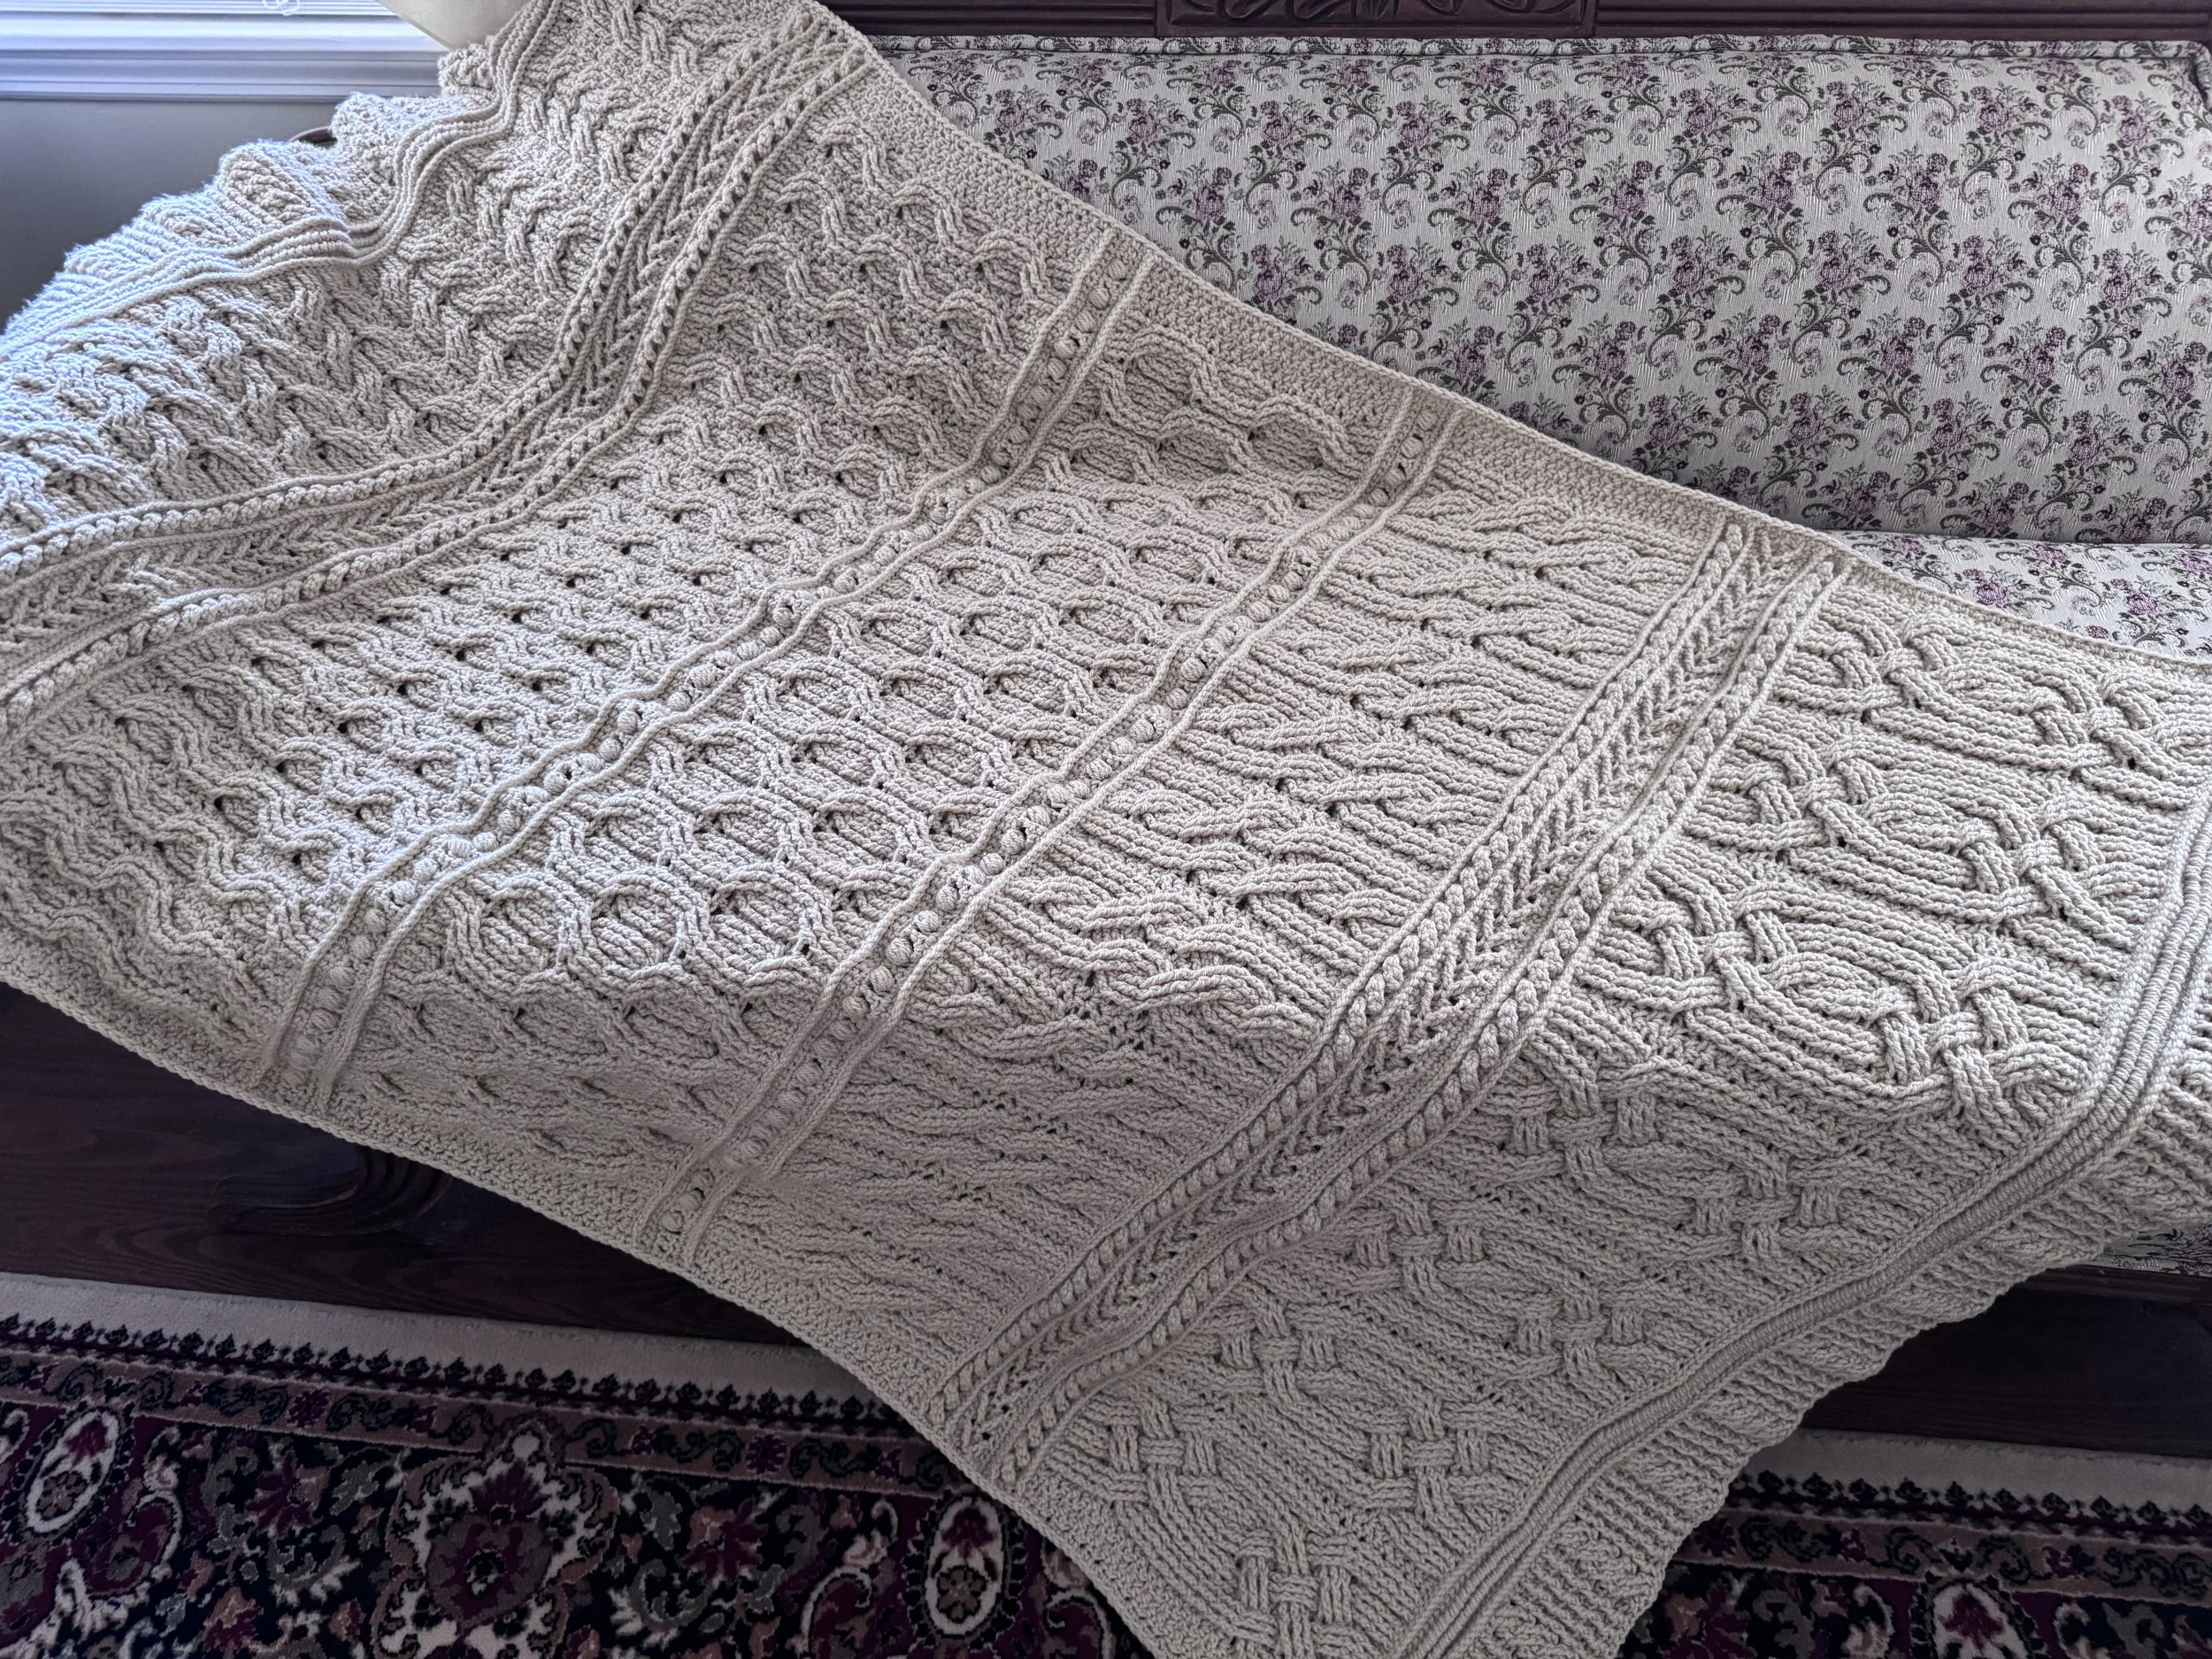
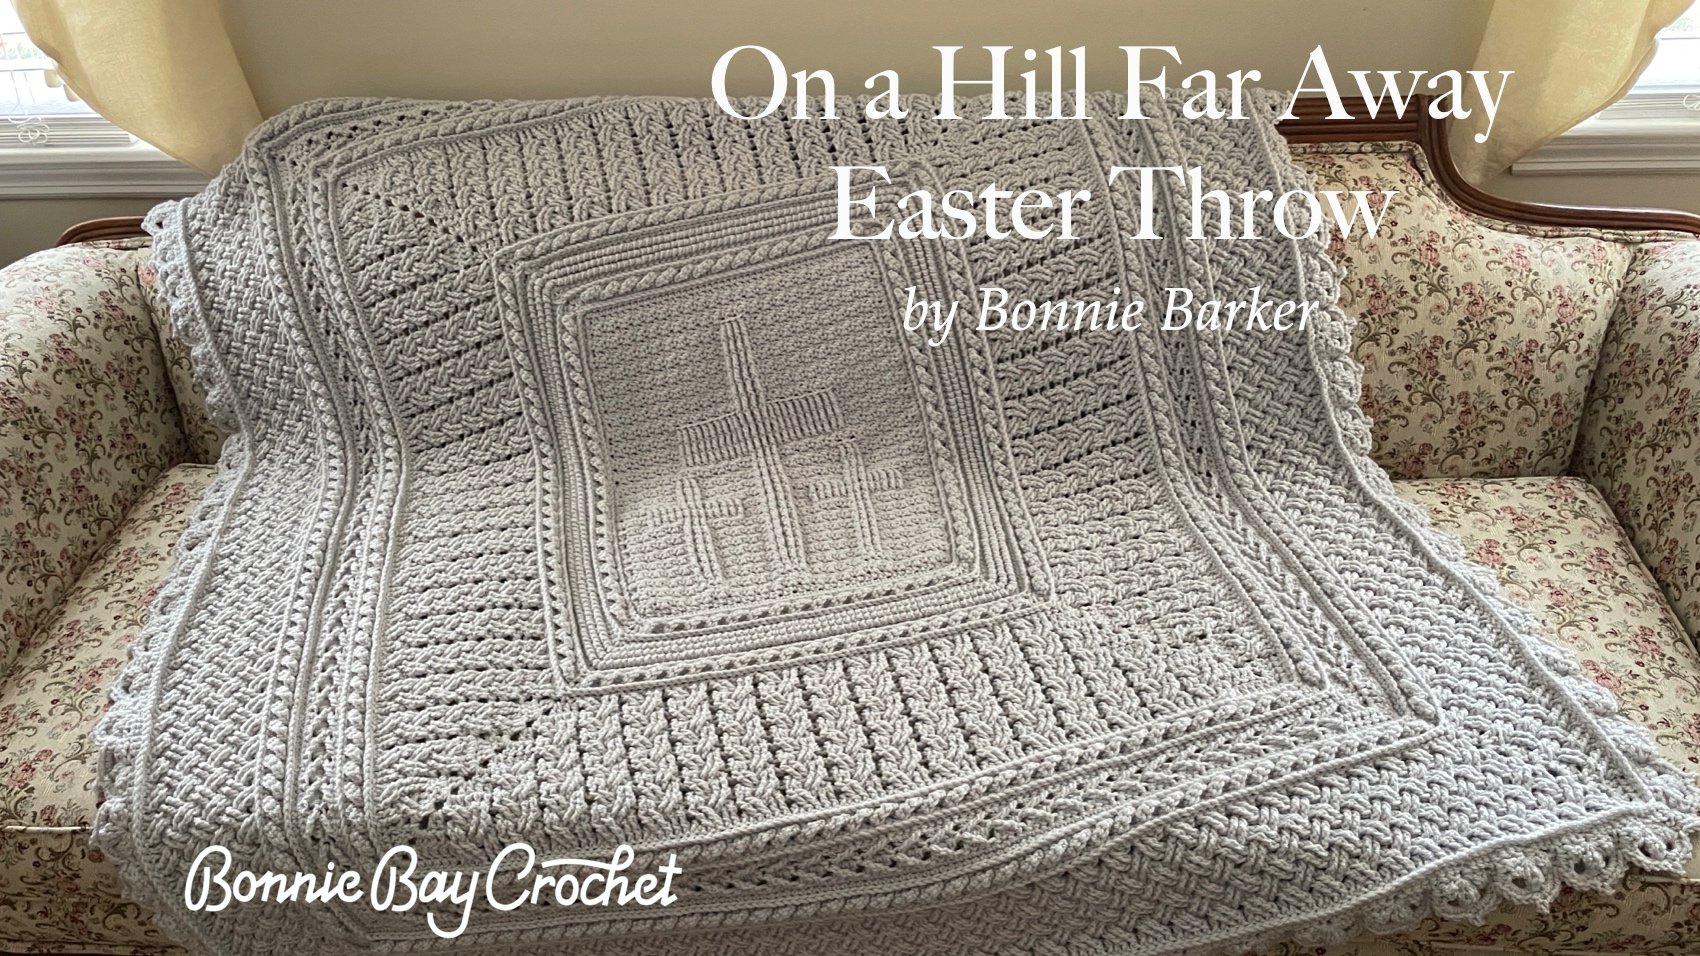
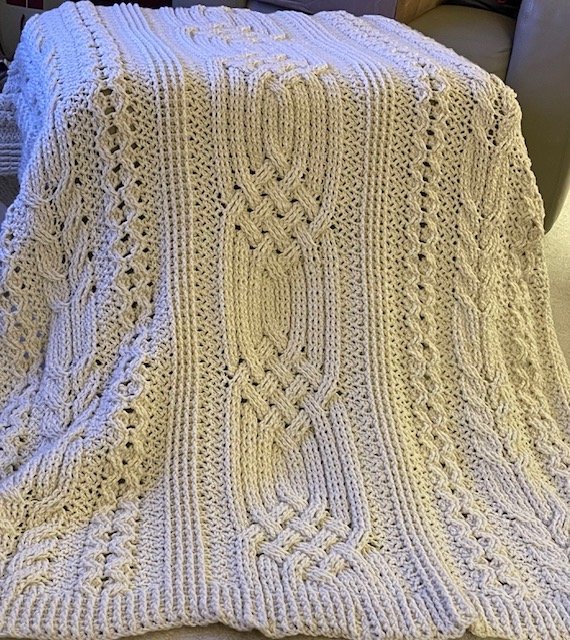
The celtic sampler throw
Skill Level: Intermediate
Yarn: 23 skeins of Paintbox Yarn's Simply Aran (100% acrylic, 100 g/3.5 oz, 184 m/201 yd, #4 weight), or approx. 4,600 yds of your favorite worsted/Aran weight yarn. I used color #207 (Vanilla Cream).
Hooks: I (or 9/5.50 mm), and H (or 8/5.00 mm)
Notions: yarn needle, scissors
Finished Dimensions: Approximately 47" wide x 68" long
Written Pattern: Available from Etsy here! You are not “required” to purchase this pattern, although I believe the 18 pages of information and photos may be very helpful. You are free to simply watch the 3 part series of videos available freely on my Youtube channel. The right-handed & left-handed versions will be posted in this playlist.
You can find more details in this video!
For those who wish to follow along with a community of crocheters, you can join a special Facebook page I set up here. This isn’t required, but only an option for those who enjoy this kind of interaction.
One last thought as we begin this crochet along: I know some will work fast and some not so fast, so the videos will be available indefinitely so no one needs to rush of feel as if they are falling behind in any way. This is supposed to be fun and enjoyable so I want to take any pressure out of this. It isn’t a competition, but a joyful pursuit.